
Motocross The Game Beginner Guide: Your First Week
A practical Motocross The Game beginner guide: controls, assists, bike choice, setup, first races and a seven-day plan for new sim riders.
Start on the 250F, keep the assists on for your first sessions, and spend your first hour on one track instead of touring the whole list. Motocross The Game rewards clean inputs and a stable body position, not maximum throttle. Learn to finish laps before you learn to set lap records.
Motocross The Game is not a motocross-flavoured arcade racer. Virtual MX Studios built it as a competition-first simulator in Unreal Engine 5, with the bike and the rider simulated as two separate physics bodies. That single design decision changes everything about how you learn the game. You are not steering a single weight with a steering angle; you are managing grip, balance and power through a rider who can move around the machine.
The good news is that the game ships with a full set of adjustable rider assists. You can learn weight transfer, throttle and clutch control at your own pace, then switch the help off one system at a time. This guide is the order we would use: bike, assists, track, setup, then racing.
What "two physics bodies" actually means for you
Because the rider is simulated separately, your body position is an input, not an animation. Leaning forward loads the front wheel and helps it bite into a rut. Sitting back unloads the front and lets the rear drive. Standing up gives the suspension room to work and lets you absorb a landing with your knees rather than your spine.
That is why the fastest riders in time attack look busy on the bike. They are not fighting the controls; they are moving weight before the bike needs it. On corner entry, the weight goes forward to plant the front. Through the rut, it stays centred so the bike can rotate. On exit, it shifts back to let the rear tyre put power down without pushing the front wide.
If you come from arcade racers, your instinct will be to steer with the bars and use the throttle as an on/off switch. Both habits will make the bike feel nervous. Steering comes from the combination of lean, body position and throttle; the bars are the last input, not the first.
Pick the 250F, not the 450F
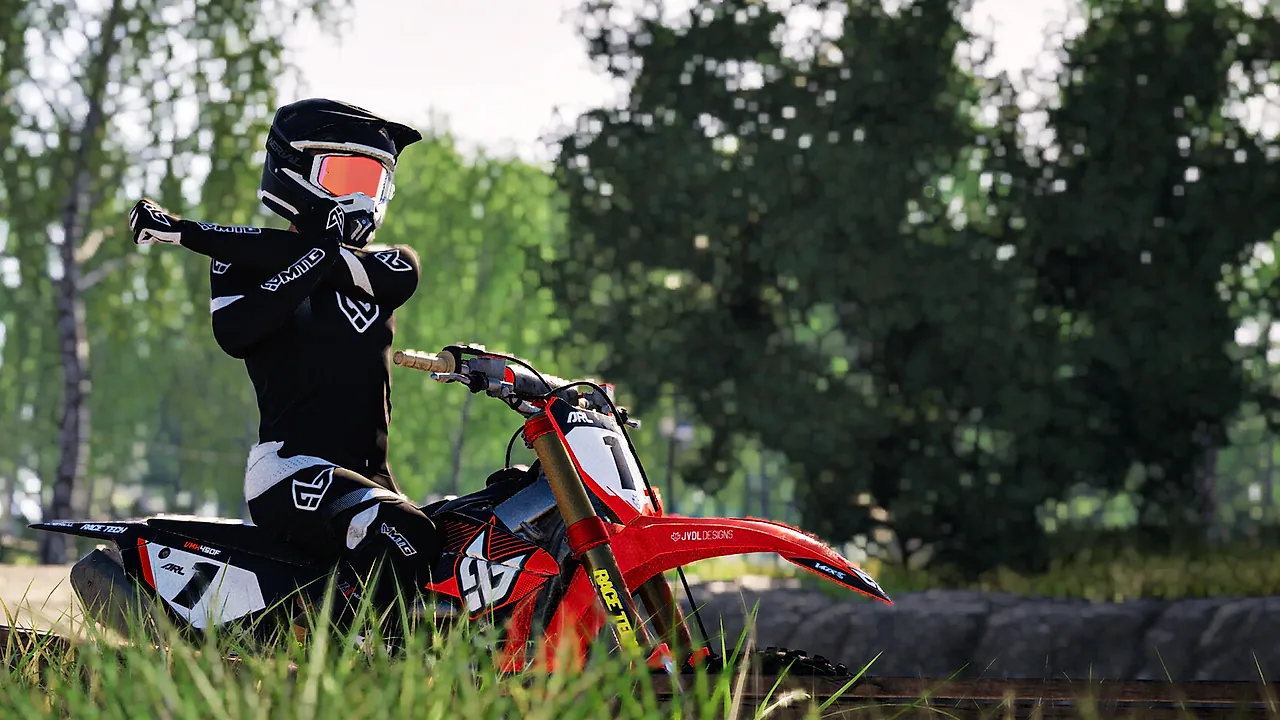
The 250F and 450F are not two skins on the same physics model. Each has its own engine, gearbox, suspension and power-delivery model. The 450F makes more torque and demands more respect with the throttle, especially out of ruts and on hard-pack. The 250F gives you more room for error while you learn to carry momentum.
For a first week, the 250F is the correct choice even if you are a fast real-world rider. The lower power lets you focus on line choice and body position instead of managing wheelspin. Once you can complete ten clean laps on the 250F without a major mistake, move to the 450F for a session and compare. The class leaderboards are separate, so there is no disadvantage to learning on the smaller bike.
Changing bikes and tracks every session hides your progress. Pick the 250F and one track, and judge yourself on consistency rather than a single fast lap.
Set the assists before your first lap
The assist menu is not a difficulty slider with two settings. It is a set of systems you can adjust individually, covering throttle, clutch, rider weight transfer and braking support. The right starting point is the setting that lets you complete a lap without fighting the bike, then reduce one assist at a time.
A practical progression looks like this:
- Session one: assists high enough that you can ride a full lap without stalling or looping out.
- Session two: reduce throttle assist one step. Keep the rest unchanged.
- Session three: reduce clutch assist one step. Practise starts and slow corners.
- Session four: reduce weight-transfer assist. Focus on braking and corner entry.
- Session five: turn off one assist completely, preferably the one you understand best.
Do not turn everything off at once. The goal is to feel what each system was hiding, not to prove you can survive a bucking bike for three corners. Our assists guide→ breaks down each system and the order to remove it.
Learn one track properly
The game ships with six tracks: Rödeby CK, Midsummer Carnage and Linköpings MS in Sweden, plus Green Peaks, Pacific Crown and Estrella MX. They are not variations of the same layout. Rödeby is hard-pack, Midsummer Carnage is built around deep ruts and Pacific Crown is sand. Each surface asks for a different setup and a different throttle habit.
For your first week, choose Rödeby CK. Hard-pack gives you a consistent surface, visible braking markers and ruts that form in a predictable way. It is demanding, but it is honest: if you miss the rut, you know why. Midsummer's deep ruts are brilliant once you understand them, but they punish a rider who is still learning where to put the front wheel.
The learning loop is simple. Ride five laps at 70 percent pace and count your mistakes. Then ride five laps at 80 percent and try to reduce the count. Do not chase the world record on day one; the current 250F benchmark on Midsummer is 0:49.496, and the riders at that level have spent hundreds of laps on the track.
Do not touch the setup yet
The workshop lets you change gearing, suspension and tyre pressure, and it is tempting to start clicking immediately. Resist that for the first two sessions. A setup change is only useful when you have a repeatable problem. If you do not know whether the front pushed because of the setup or because you braked too late, you cannot tell whether the change helped.
Start by recording the stock setup and riding it. Then change one thing at a time, in this order: tyre pressure, gearing, suspension. Tyre pressure is the fastest to feel, gearing changes the character of the whole lap, and suspension is the most interconnected. Our bike setup guide→ explains the order and the test loop.
Your first online race
Online racing runs on dedicated servers with matchmaking and private lobbies. The game also tracks a Dual Rating System: a Skill Rating for pace and results, and a Safety Rating for track etiquette. Clean, fast riders end up racing each other, so the first few races are not just about finishing position.
Three habits will protect your Safety Rating. First, do not dive into a gap that is already closing. Second, hold your line through a rut instead of drifting across the track. Third, if you are slower than the rider behind, let them past on a straight rather than defending every corner. A clean pass costs less time than a crash and a reputation.
If you are not ready for a full gate, use time attack. It is a low-pressure way to learn a track, and every lap is recorded on the global leaderboard per bike class. You can compare your sector-by-sector pace without worrying about traffic.
A seven-day plan for new riders
| Day | Focus | Target |
|---|---|---|
| 1 | Controls and body position | Complete 10 laps without stalling |
| 2 | Braking and corner entry | Hit the same rut 8 times out of 10 |
| 3 | Throttle control and exits | No wheelspin-induced crashes for a session |
| 4 | Assisted lap vs clean lap | Reduce one assist step |
| 5 | Time attack | Set three consecutive laps within 1.5 seconds |
| 6 | First online race | Finish without a major collision |
| 7 | Review and setup | Change one setting, test, keep or revert |
The targets are deliberately modest. A rider who can repeat a 1:10 lap is more useful than a rider who once did a 1:05 and cannot find the same line again. Consistency is the foundation that every later speed gain is built on.
The five mistakes that slow beginners down
Holding full throttle in the air. The rear wheel keeps accelerating and the bike rotates. Small, deliberate throttle inputs are usually faster.
Braking with the bike upright and then turning. Trail braking into a rut is a skill, but beginners should brake earlier, release smoothly and let the bike settle before turning in.
Sitting through rough sections. Standing lets the suspension work. Sitting turns the rider into a rigid link between the seat and the bars.
Fighting the rut. If the front wheel is in the rut, let the bike follow it. Steering against the rut pushes the front wheel out.
Changing setup after every bad lap. A bad lap is usually a riding mistake. Change setup only when the same problem appears in the same place three laps in a row.
FAQ
Do I need a controller to play Motocross The Game? A gamepad is recommended on the Steam page, and analogue triggers make throttle and brake control much easier. Keyboard input works, but it is harder to modulate. Use whatever you have, then move to a controller with analogue triggers if the game clicks for you.
Can I play Motocross The Game on PS5 or Xbox? Not at Early Access launch. The PC version arrives on November 16, 2026, and PlayStation 5 and Xbox Series X|S versions are planned to follow. Cross-platform multiplayer is part of the plan, so console riders should be able to race PC riders later.
Is there a career mode? A traditional career mode has not been announced. The game's progression is built around online racing, the Dual Rating System and per-track time attack leaderboards. You can read more in our career mode guide→.
How long should I practice before racing online? Until you can complete a lap without a major mistake and hold a predictable line. For most new riders that is two to four hours, not two weeks.
Sources
- Motocross The Game on Steam ↗
- Official Motocross The Game site ↗
- Official time attack leaderboards ↗
Official source: Steam store description, official about page and official leaderboard, checked November 10, 2026.