
Motocross The Game Suspension Setup: A Rider's Tuning Method
How to set up suspension in Motocross The Game: sag, compression, rebound, balance and a repeatable test method for hard-pack, ruts and sand.
Set the rear sag first, then balance compression and rebound one end at a time. Change one clicker or one step, ride three laps, and keep the change only if the same problem improves in the same place. Stiff is not fast; a compliant bike that follows the rut is usually faster than a rigid one.
Suspension is the hardest part of bike setup because every change affects more than one behaviour. Stiffen the front compression and the bike may turn better, but it may also deflect off hard-pack and lose front grip in a rut. Soften the rear and the bike may absorb bumps, but it may also squat too much and push the front on corner exit.
The way through is not a magic setup sheet. It is a method: understand what each adjuster does, change one thing at a time, and test on a track that exposes the problem.
Start with sag, not clickers
Sag is how much the bike settles under its own weight and the rider's weight. It sets the working range of the rear suspension. If the sag is wrong, every clicker adjustment is fighting the wrong baseline.
If the workshop displays sag in millimetres, a typical real-world motocross baseline is around 100 to 105 mm of race sag. If the game uses an abstract scale or a slider, follow the workshop's own guidance and aim for the middle of the recommended range. The principle is the same: the rear should sit low enough to let the wheel extend into bumps, but not so low that the bike runs out of travel.
Set the sag with the bike on level ground and the rider in a normal riding position. If the game does not simulate static sag, set the spring rate or preload to the middle of the range and move on. Do not spend a whole session on sag if the workshop does not expose it.
Compression: how the suspension handles a bump
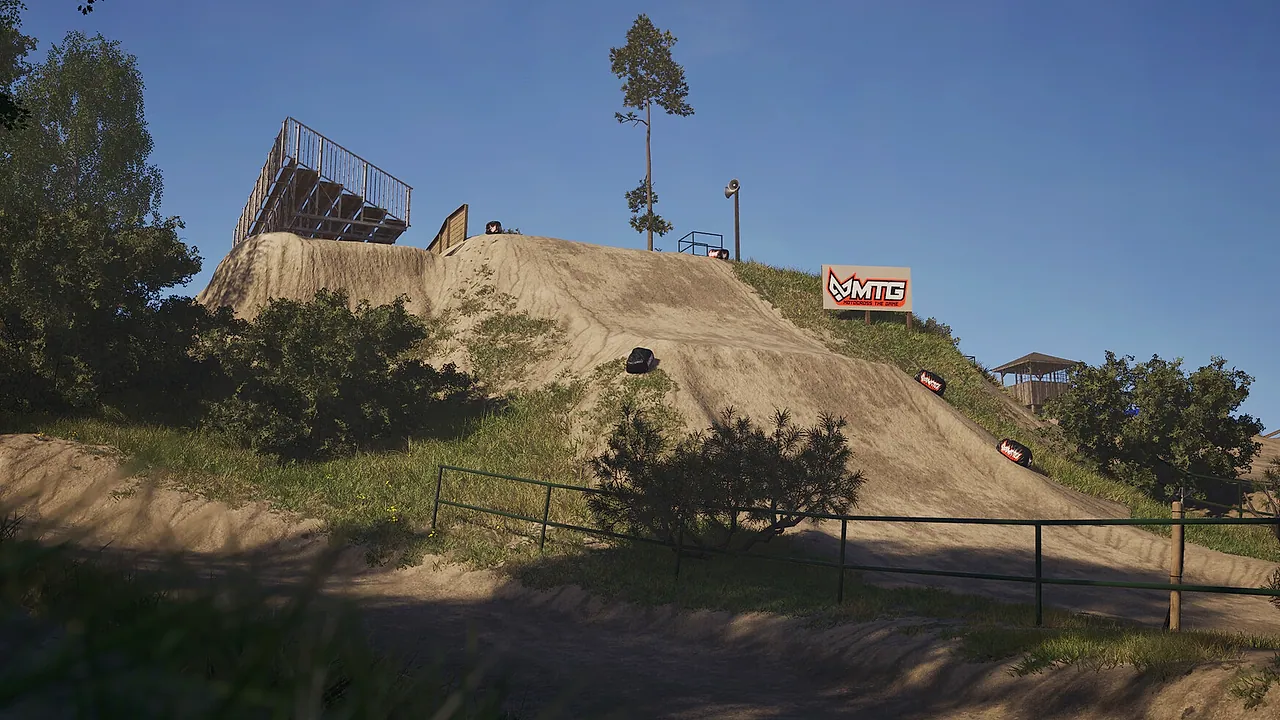
Compression controls how quickly the suspension compresses. There are usually two circuits: low-speed compression for smooth inputs such as braking and cornering load, and high-speed compression for sharp inputs such as square-edge bumps and landings.
More compression damping makes the suspension resist movement. The bike feels firmer, stays higher in the stroke and may turn more precisely. Too much and it deflects off bumps, loses traction and feels harsh.
Less compression damping lets the suspension move more easily. The bike absorbs bumps and follows the ground. Too little and it dives under braking, bottoms out on landings and feels vague.
For hard-pack, start with slightly more compression damping at both ends. The surface is firm and the bike does not need to absorb deep ruts. For sand, start softer so the wheels can follow the surface and the bike does not skip.
Rebound: how quickly the suspension returns
Rebound controls how quickly the suspension extends after a bump. It is the adjuster most riders misunderstand.
Too little rebound damping means the spring extends quickly. The bike can feel lively and may pack down in a series of bumps because the suspension never settles.
Too much rebound damping means the spring extends slowly. The bike can feel planted on a single bump, but the suspension packs down over repeated hits and loses travel. In ruts, too much rebound can make the bike feel like it is sucked into the ground.
A useful test is to ride a section of repeated bumps. If the bike gets lower and harsher with each bump, you have too much rebound or too little compression. If it bounces and steps sideways, you have too little rebound.
Balance front and rear
A motocross bike works as a system. If the front is much stiffer than the rear, the bike will pitch forward under braking and the rear will feel vague. If the rear is much stiffer, the bike will squat and push the front.
Set a neutral baseline, then adjust one end. When you change the front, ride a few laps and notice whether the rear now feels different. If the change fixed the front but made the rear worse, you have moved the balance rather than solved the problem.
Pick one corner that exposes the problem and ride it ten times. A change that feels good everywhere but does nothing in your test corner is probably placebo.
A diagnosis table
| Symptom | Likely cause | First adjustment |
|---|---|---|
| Front pushes wide on corner entry | Front too soft or too high; rear too low | Add front compression, check sag |
| Front deflects off hard-pack | Front compression too stiff | Reduce front compression |
| Rear kicks on jump landing | Rear compression too stiff or rebound too fast | Reduce rear compression, check rebound |
| Rear packs down in bumps | Too much rebound damping | Reduce rear rebound |
| Bike feels vague in ruts | Suspension too stiff or tyre pressure too high | Soften both ends slightly, check pressure |
| Bike bottoms out on big landings | Too little compression or too soft a spring | Add compression or spring rate |
| Front dives under braking | Too little front compression or too soft a spring | Add front compression |
Treat the table as a starting point. Body position and tyre pressure can produce the same symptoms, so check the cheap things first.
Surface-specific starting points
Hard-pack (Rödeby CK). The track is firm and ruts form cleanly. Start slightly firmer than neutral, with enough rebound control to keep the bike from bouncing. The front needs support under braking because the surface rewards late, hard braking.
Deep ruts (Midsummer Carnage). The bike needs to follow the rut without fighting it. Start slightly softer, with rebound that lets the wheel extend into the rut. Too stiff a front end will climb out of the rut.
Sand (Pacific Crown). The surface moves, so the bike needs to float and the wheels need to follow the ground. Start softer at both ends, with more emphasis on compression compliance. A stiff sand setup will skip and lose drive.
The test protocol
- Warm up for three laps. Do not judge a setup on cold tyres or a cold rider.
- Ride five laps at a consistent pace.
- Note the problem and where it happens.
- Change one adjuster by one step.
- Ride five more laps.
- Compare the problem, not just the lap time.
- Keep, adjust or revert.
If you cannot feel a change after two steps, the problem is probably not suspension. Check tyre pressure, body position and gearing before you go further.
Common suspension mistakes
Changing both ends at once. You lose the ability to attribute the change. Work on one end.
Using the clickers to fix a gearing problem. If the bike is hitting the rev limiter or bogging, suspension will not help.
Running a world-record setup without the same tyres and track conditions. A setup is a package, and the fastest rider may be using a very different line.
Confusing a crash with a setup problem. If you braked too late, the suspension did what it was asked to do.
Never testing the stock setup. You need a reference. Ride the default before you change anything.
When to stop tuning
Stop when the bike does what you ask in the places that matter, and when further changes are not producing repeatable improvements. A setup that is 95 percent right and stable is better than a setup that is 100 percent right on one lap and unpredictable on the next.
Spend the saved time on line choice and braking points. Those are worth more lap time than a clicker.
For the next step, the full bike setup guide→ covers the related inputs in more detail.
FAQ
Should I set sag with or without the rider? Race sag is measured with the rider in a normal riding position. Static sag is measured without the rider. If the workshop only exposes one value, use the one the game labels and follow its guidance.
Does suspension affect the 250F and 450F differently? Yes. The bikes have separate suspension models and different power delivery. A setup that works on the 250F may be too soft for the 450F's extra torque.
Can I change suspension during a race weekend? You can, but test the change in practice first. A race is not the place to discover that your new setting makes the bike worse.
What is the most important adjuster? Sag, because it sets the working range. After that, compression at the end that is causing the problem. Rebound is important but harder to feel without repeated bumps.
Sources
- Motocross The Game on Steam ↗
- Official Motocross The Game site ↗
- Official time attack leaderboards ↗
Official source: Steam store description and official about page, checked November 10, 2026. Sag and clicker guidance is a practical baseline, not a published game tune.